Working from ideas to reality.
|
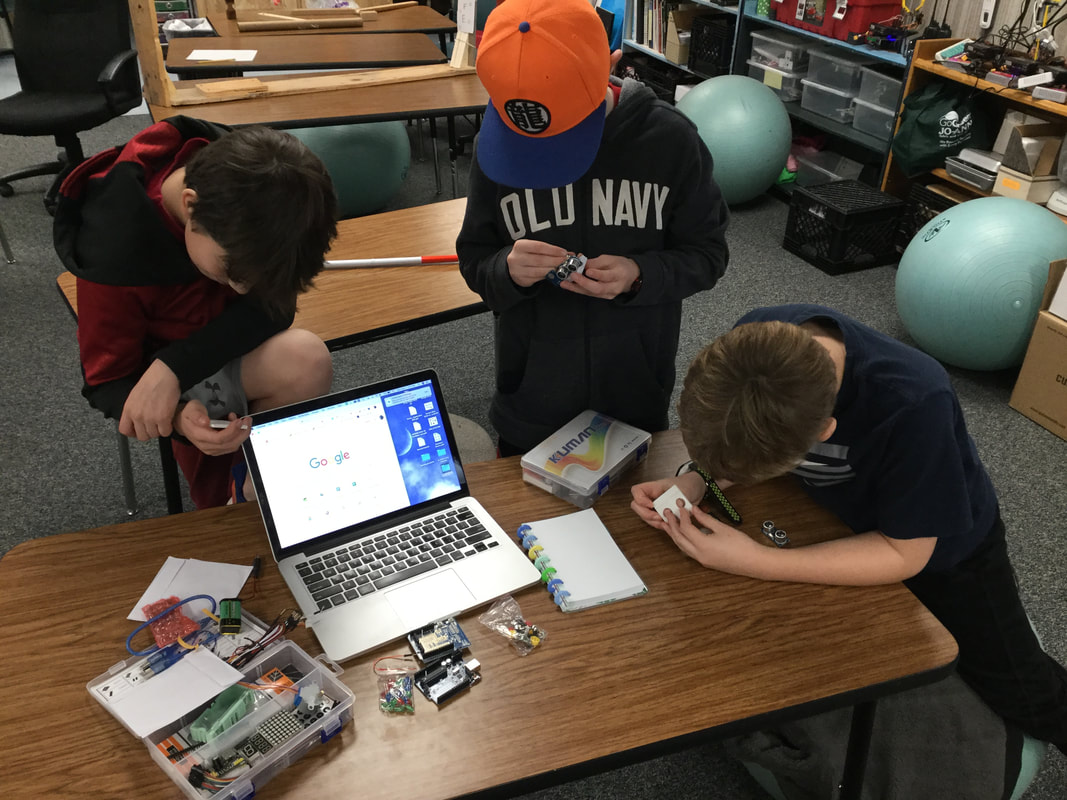
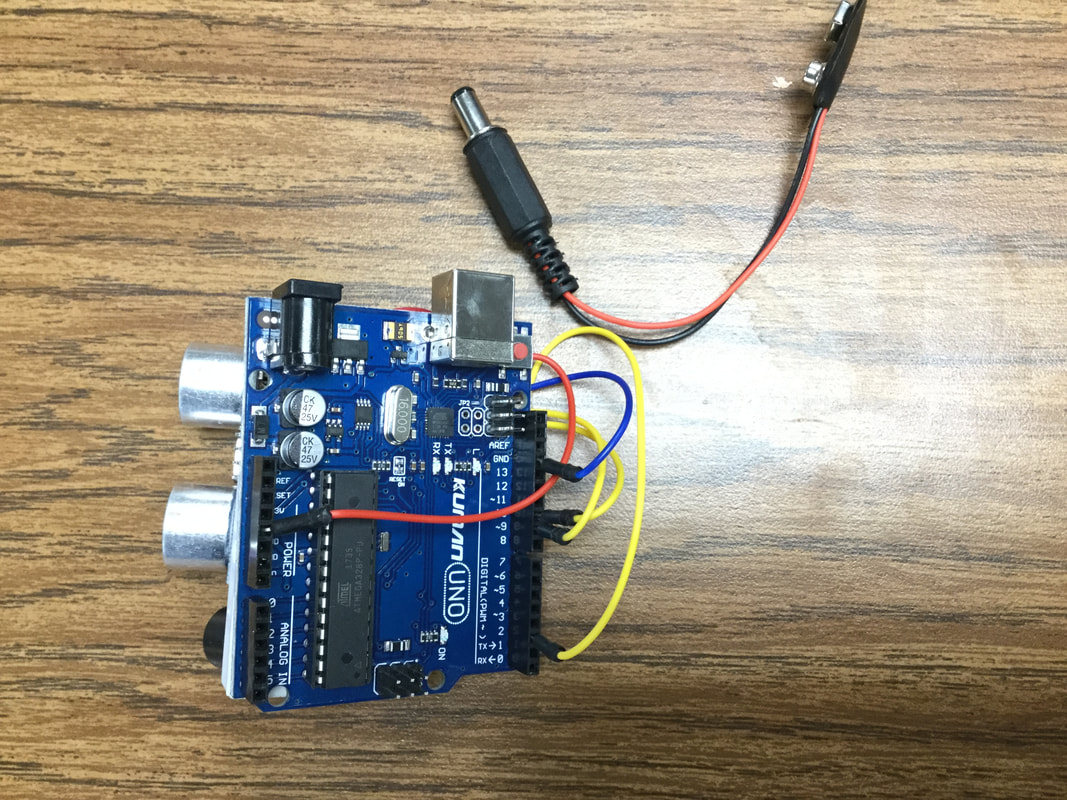
First we drew our ideas and voted on attaching the sensor to the top of the cane. Before we could build the case, we needed to wire the Arduino. We used an Arduino Uno because that's what we already had, but an Arduino Nano would be better because it's smaller. We found an example of what we wanted to build on the Arduino Project Hub.
We lost track of how many times we needed to print the top of the Steek. To save time and plastic, we began to stop the 3D printer after the holes were set.
|
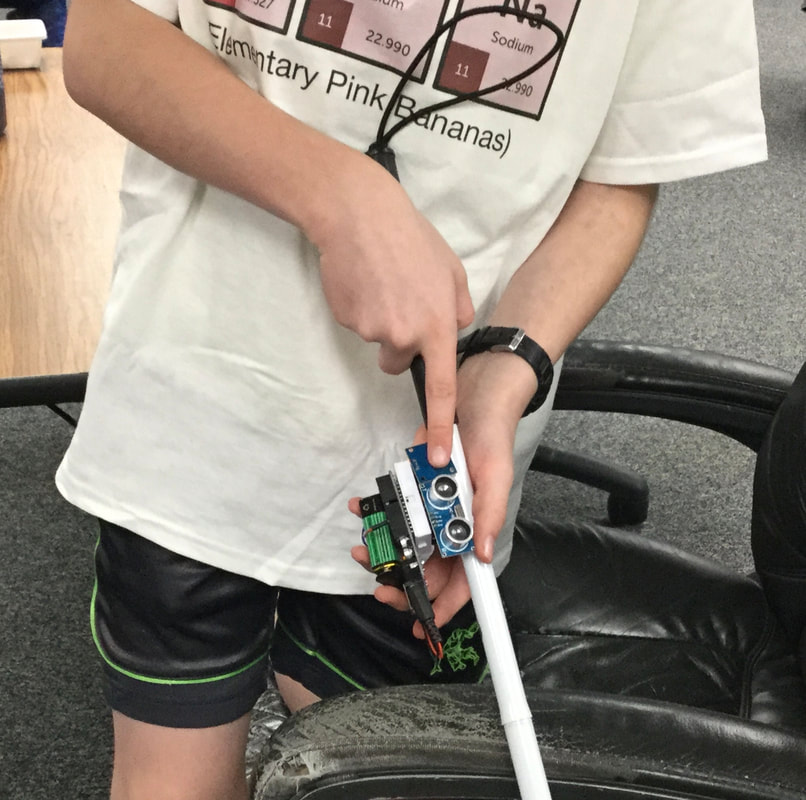
We knew we were going to use the ultrasonic sensor, so our 3D designer started working on getting the holes and the spacing for the top.
|
|
Now we needed to make another hole and change the top. We still didn't have a working program for the buzzer. Our coach told the programmer to get the first idea working before adding the touch sensor.
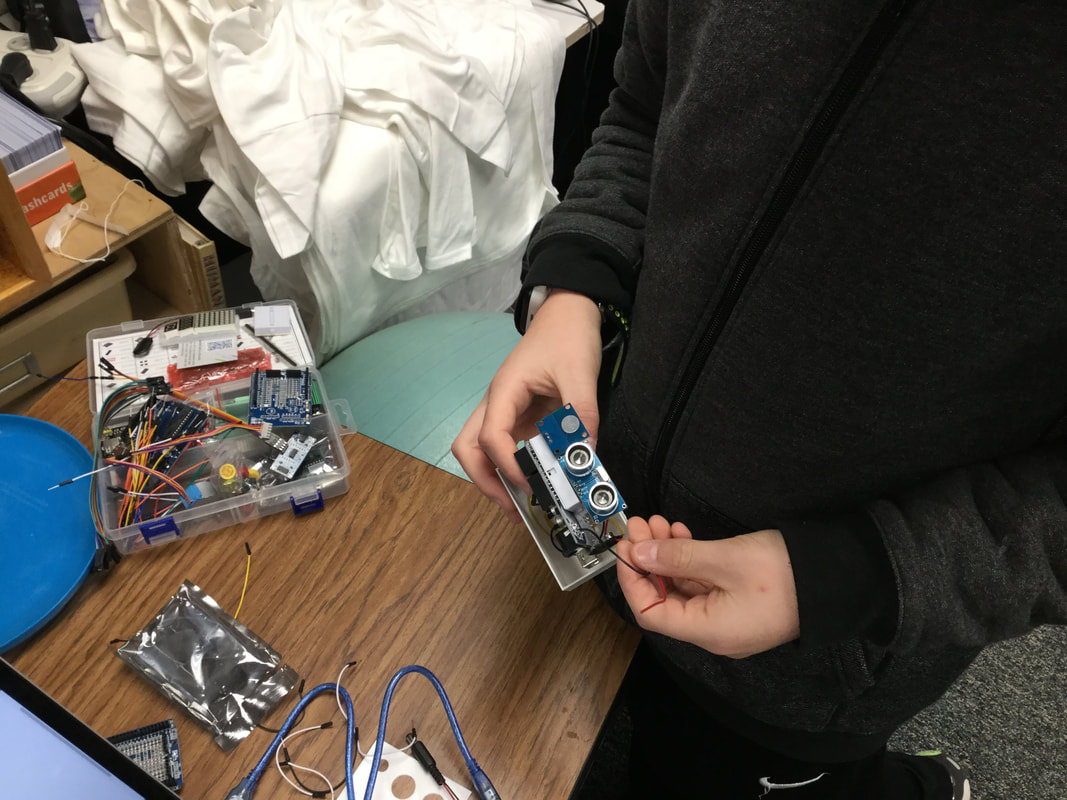
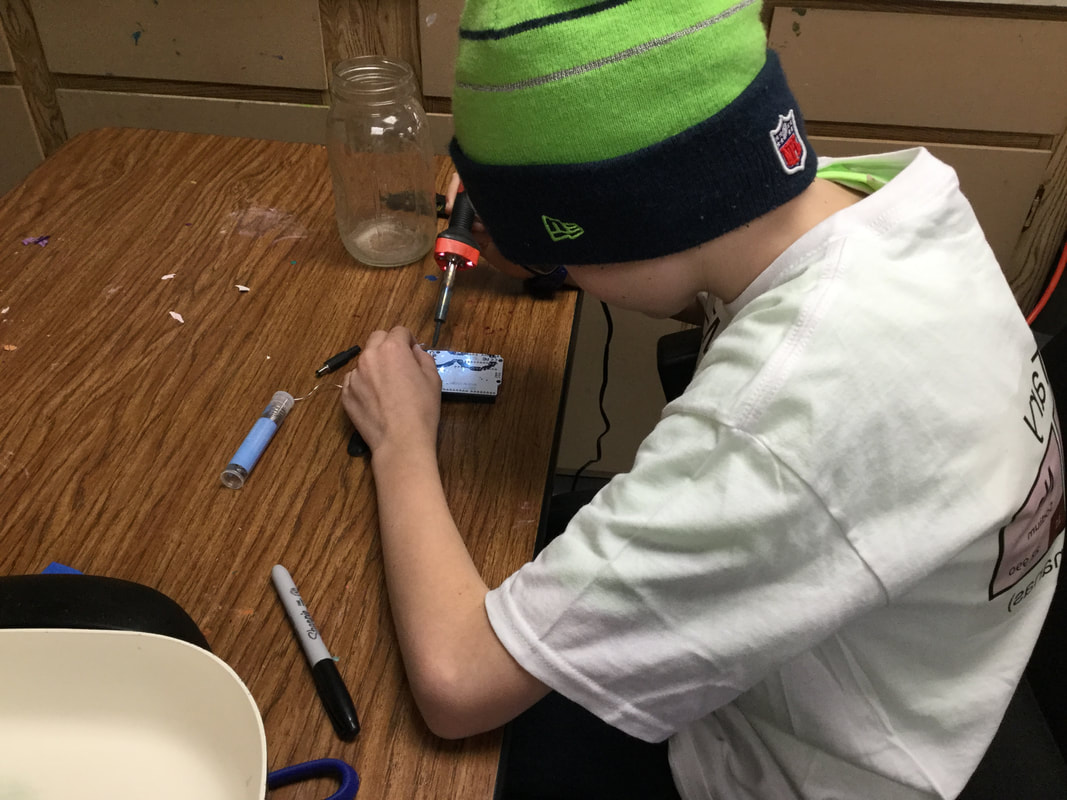
We finally had a case and a lid. Adjustments still need to be made because the holes are too close to one side so the sensor doesn't sit right in the case. One of the battery cables disconnected during our case fitting so we needed to re-solder it together.
|
We didn't like how the plug stuck out from the Arduino. It would make our case too big. Our electrical specialist cut some wires and soldered the battery connector straight to the Arduino board.

|
For more information about our project download the Steek presentation on the right. |
| ||